
# apt-get install targetcli-fb
Reading package lists... Done
Building dependency tree... Done
Reading state information... Done
The following additional packages will be installed:
python3-configshell-fb python3-pyudev python3-rtslib-fb python3-urwidSuggested packages:
python-urwid-docThe following NEW packages will be installed:
python3-configshell-fb python3-pyudev python3-rtslib-fb python3-urwid targetcli-fb
0 upgraded, 5 newly installed, 0 to remove and 0 not upgraded.
Need to get 323 kB of archives.
After this operation, 2,047 kB of additional disk space will be used.
Do you want to continue? [Y/n] y
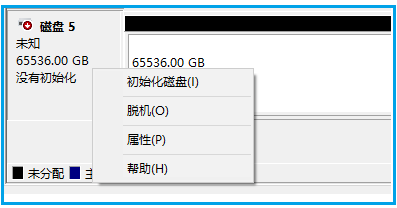
fallocate -l 64T disk_win_64T.img

$ targetcli
targetcli shell version 2.1.53
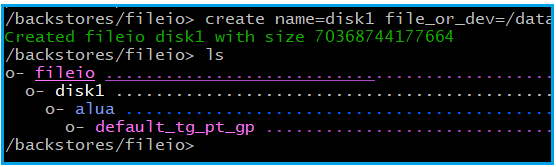
/> cd /backstores/fileio
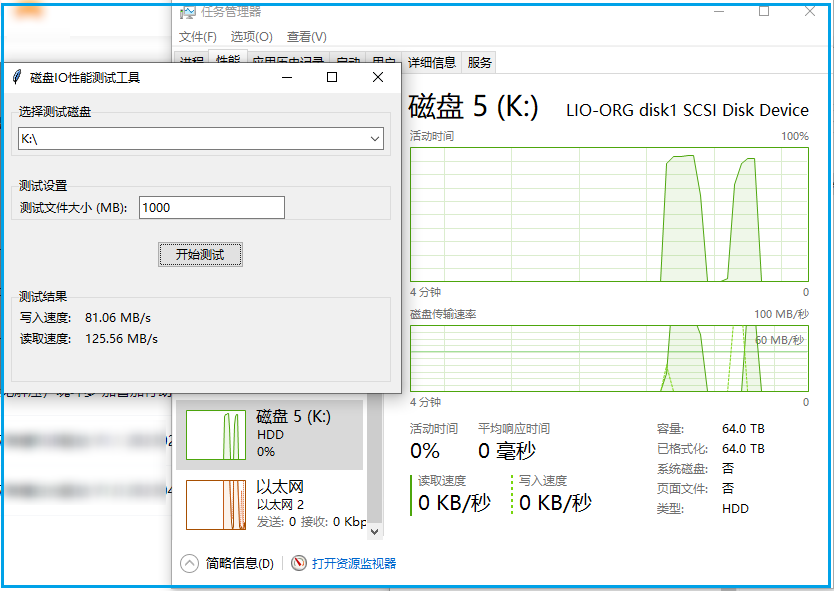
/backstores/fileio> create name=disk1 file_or_dev=/data/hyang0/disk_win_64T.img
/> cd /iscsi
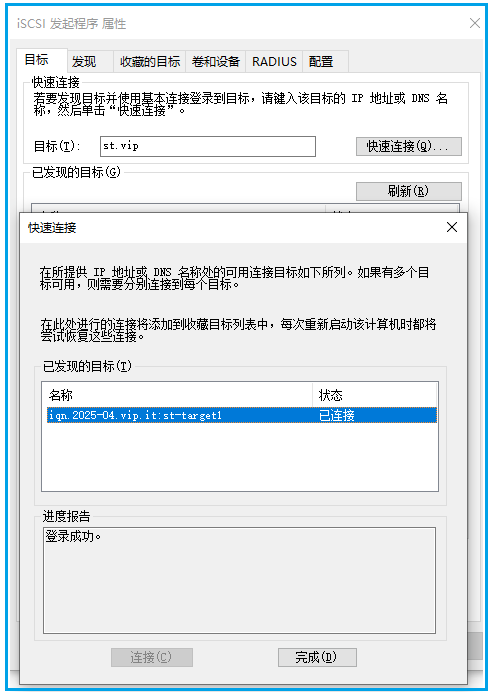
/iscsi> create inq.2025-04.vip.it:st-target1

/> cd /iscsi/inq.2025-04.vip.it:st-target1/tpg1/
iscsi/iqn...../tpg1/luns> create /backstores/fileio/disk1

> cd acls
> create iqn.1991-05.com.microsoft:win-11hxxxx


推荐本站淘宝优惠价购买喜欢的宝贝:
本文链接:https://zblog.hqyman.cn/post/10528.html 非本站原创文章欢迎转载,原创文章需保留本站地址!

 微信支付宝扫一扫,打赏作者吧~
休息一下~~